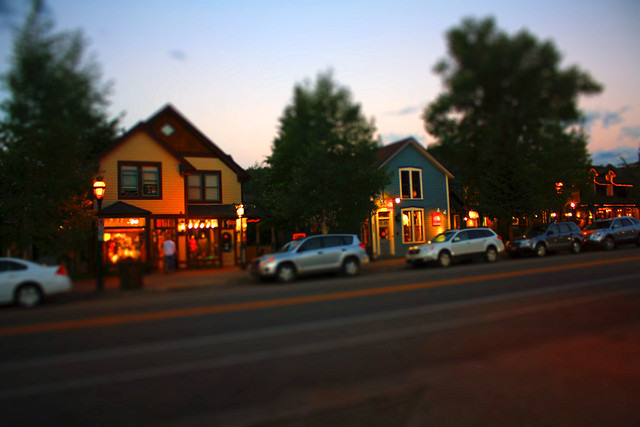
So, I finally learned a new trick in Photoshop.
Do you know how to tilt-shift?
It's pretty easy. So, I'm going to show you. ;)
It has a pretty cool, toy modelesque, kind of effect.
So hereeeee we go!
First you'll want to find a picture that will work for this kind of effect. Most of the ones that I've seen are of cityscapes or landscapes. You can do it with anything, but it might look kind of funky....Anyways,
I picked this one:
First, you'll want to open it in Photoshop (duh) and create a quick mask by clicking Q on your keyboard. Next, you will want to select your gradient tool:
Make sure that you have the 'Reflected Gradient' selected up at the top (the cylinder shaped one).
So, now you can select where you want your focus to be. With your gradient tool, click where you want the center of your focus to be. I want mine to be the people in the middle, so I'm going to click on the man with the red and white striped shirt and pull my tool down to the bottom of the picture. A red shade will appear on your picture where your focus will be (You can always go back and change it if you don't like where it is.).
When you're happy with your focus, click Q again to get out of your Quick Mask. Now you'll see where your focus is exactly selected. Now, all you need to do is go to Filter-->Blur-->Lens Blur
It will take you to this screen:
Make sure that your shape is Hexagon (6). My radius is around 60. You can play around with the settings to get exactly what you want. Then you'll have your blurriness! You'll want to deselect all. After that all you need to do is play with your saturation if you want to give it a toy feel.
Done!
:)


Niice! I love the tilt-shift effect. I use it a lot on Instagram as well!
ReplyDeleteWhat a great tutorial! I'll definitely have to use that! Thanks!
ReplyDeleteThe Bombshell Manifesto
So cool! I love this!!!
ReplyDeleteI love tilt shift photos! Now I just need photoshop to do this manually. My camera has a tilt shift option on it, but I want more control. & your tilt shift photo's are gorgeous!!
ReplyDeleteI love this, so cute! Thanks for the instructions xo
ReplyDelete