This tutorial is pretty simple. So simple, you probably don't even need a tutorial.
But, I did document the process and I don't want that to go to waste. ;)
Supplies:
-Fabric
(we bought 1/4 yds of five different fabrics... and had a bit too much. Use good judgment)
-Some kind of ribbon, twine, or trim (we used the sequin trim)
-Stapler, Spray adhesive, Rubber Cement
-Construction Paper

First step: Trace out your flags. We made ours about as wide as a normal sheet of paper (8 in), and then just guesstimated the rest. We cut out 12 flags from construction paper. You don't have to do this step- you can just go straight to cutting the fabric, but we wanted them to be a little firm.

Next, we used spray adhesive to stick the paper to the fabric. This worked really well! Make sure to do it outside, and steer clear of the newspaper (the ink gets everywhereee).
At this point, we just cut out the pieces from the fabric, and then glued the edges to the backs. You can just cut a straight edge, but we wanted to avoid fraying.

Next step is to do the letters! We printed out 'Abbey is 21!' in a huge font, and then just used it as a stencil. Once again we cut out construction paper, and spray adhesived it to the fabric (okay actually we glued, but it would have been prettier if we used spray adhesive). Then we cut out the letters from the fabric, and voila!

All you have to do is glue the letters on, using any kind of glue because it wont show through!
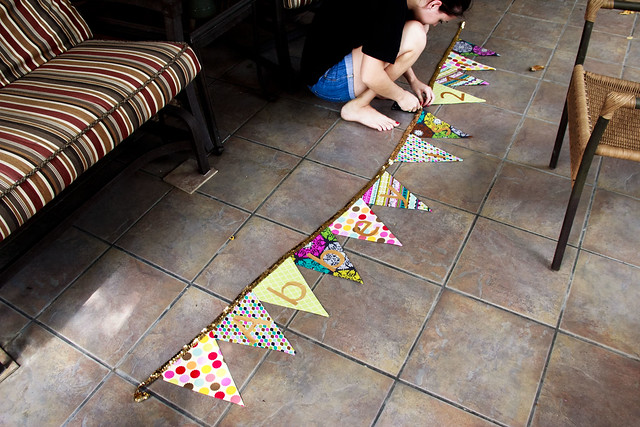
Last part is the trim! You can attach the trim in a number of different ways, but it's really up to how much time you want to spend/how long you want it to last.
Our banner was for one day, and we were super tired by this point.
So, we stapled.
It worked pretty well in the end. We only had to re-do two on the day that we used it.

You can tell I was tired...
After you finish attaching the trim you're DONE!
You get to take cute pictures, like this!
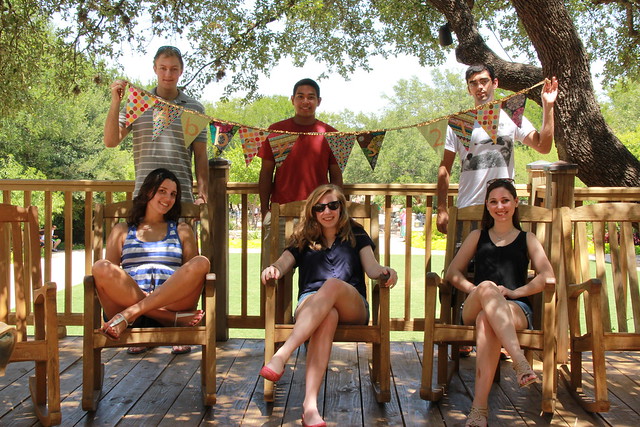
Agh, I love it! This makes me really want to find an occasion to make one myself. ♥
ReplyDeleteGreat tutorial! I'm going to make one for my apartment that says "Welcome". Thanks so much!
ReplyDeleteThe Bombshell Manifesto
I'm definitely gonna use this tutorial. I love banners like these :)
ReplyDeleteI actually have always wondered how these were made. I think I'll make one for my birthday in November! Thanks for sharing!
ReplyDelete:)
xx
Hi,
ReplyDeleteI love your blog
I will try this out:)
Please comment on one of my posts
Hugs
Nunu
Oh, God! This looks so great and beautiful and fun! I want it right now! You did such a great job!
ReplyDelete